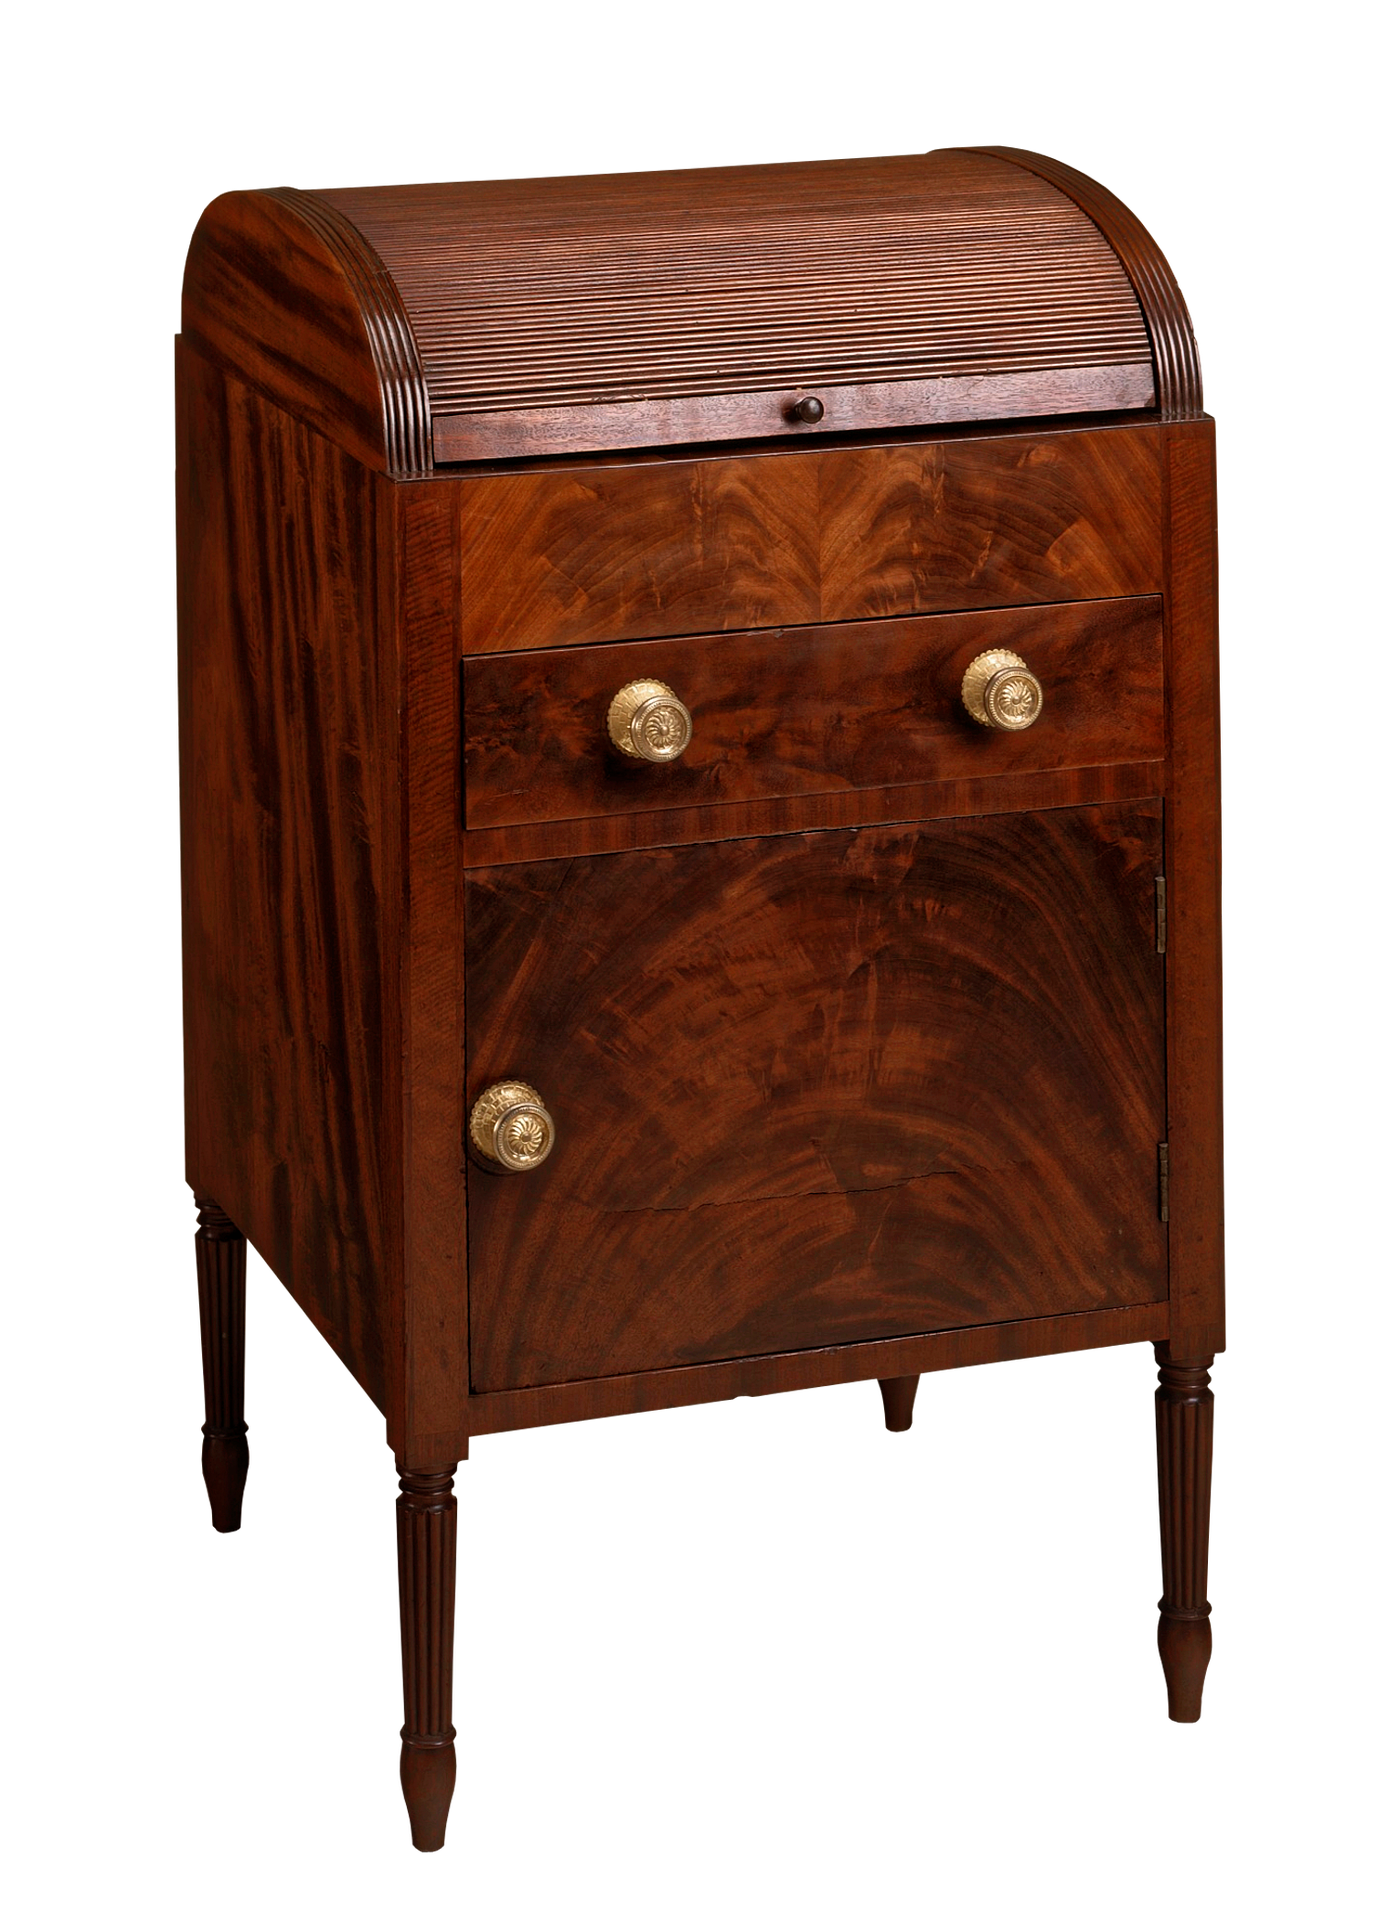
Vintage & Distressed Furniture Makeover: Transforming Pieces with Timeless Charm
Transforming furniture with a distressed, vintage look has exploded in popularity because it makes interiors feel more lived-in, warm, and inviting. This style combines sophistication and heritage, utilizing aged textures and subdued hues to achieve a vintage vibe. Distressed and vintage furniture makeovers are ideal for achieving a warm, lived-in feel, from transforming new furniture pieces into heirloom-like ones to revamping old finds. In this blog, we will cover the steps, techniques, and tricks to achieve this look, no matter your experience level with furniture painting and refinishing.
Makeovers: Why Distressed & Vintage Furniture?
It’s not just about the unique look of vintage and distressed furniture.
Distressed Furniture:
When you compare modern, clean-looking finishes, distressed furniture has imperfections that give it character. Nostalgic yet warm to any room, it made places feel a little cosier. This style also fits in with many decor styles, from farmhouse and rustic to shabby chic and French country.Vintage transformations promote sustainability by encouraging second-hand wear and purchases over buying new items.In addition, many older pieces of furniture show signs of wear and tear so distressed makeovers can help disguise that and breathe new life into things that other people might have thrown away. Vintage makeovers allow for a great deal of personal creativity and provide the opportunity to make the work DIY-friendly. The great thing about vintage and distressed styles is that you want them not to be perfect. The more imperfect it is, the better.
Vintage & Distressed Transformation Patterns & Tools
Getting the right materials and tools for your vintage or distressed furniture makeover is the first step. Here’s a basic list:
Chalk Paint or Milk Paint: Due to their matte finishes and ease of application, these paints are popular for vintage (or vintage-style) makeovers. Sandpaper or Sanding Block: Use sandpaper with a fine grit to distress edges and surfaces.
Brushes:
You will want several sizes; I try to keep natural bristle brushes as they give a nice texture.
Wax (clear and dark—clear wax seals chalk or milk paint, and dark wax gives an aged look when applied over top).
Gloves and drop cloths:
Protect your skin and the surrounding surfaces.
Wood Putty (as required):
Ideal for covering holes or marks that you would like to conceal.
Lint-Free Cloths or Old Rags:
These are used to buff the wax and blend the paint for a smooth finish.
These supplies allow you to play around with various methods to achieve that perfect vintage or distressed appearance.
How To Do A Vintage & Distressed Makeover, Step By Step
Step 1
Choose the Right Piece.
Distressing is not for all pieces of furniture. Choose items with unique features, such as carved edges, raised panels or turned legs, all of which you can accentuate with distressing. Solid wood furniture is best as it can take sanding and painting, unlike laminates or particleboard.
Look for secondhand options if you buy a piece to upcycle for the latter, such as thrift stores or online marketplaces. These often include low-cost options that can be upcycled with some elbow grease.
Step 2:
Get your furniture ready
It is important that you prepare properly to guarantee your paint sticks well and looks good. Clean the furniture first, especially if it is old or if you have stored it in a dusty place. Wipe the surfaces with a mild soap and water mixture to remove dirt and grease.
Down; then just give the furniture a light sand to create a key for the paint to adhere to. This is especially true if the furniture is shiny. No need to take it all the way down; just scuff it up a little to give the paint something to hang onto. Fill scratches or gouges you wish to hide with wood putty, and then sand it smooth.

Step 3:
How to apply the base coat
The base coat will serve as the primary colour for your vintage transformation. Chalk paint or milk paint are favourites here because they dry to a soft, matte finish that appears to be organically weathered. Spread the first coat evenly and allow it to dry completely before applying a second coat (if necessary).
You can also use two colours for more dimension—a base colour that you will sand off some of and a topcoat that will be your main colour. For instance, start with a dark grey or dark brown and finish it with a light cream or sage green.
Step 4:
Techniques for Distressing
After your paint is completely dried, it is then time to give your well-worn, well-loved, vintage look. Some of the common distress methods are as follows:
Sanding:
Sand areas that would be worn in real life with fine machine paper on edges, corners, and raised details. For a distressed look, lightly sand through these areas to reveal the colour or wood underneath.
Dry Brush:
Lightly dip a dry paintbrush in a contrasting paint colour and brush it over the surface for a soft, layered look.
Wear Wet Distressing:
Another technique you can use (and only if you are using chalk or milk paint) is to take a damp rag and wipe off a little bit of the paint in the places you’d like to see wear when the paint is still wet. This is very useful for softer/distressed blending techniques.
Chipping:
Rub some petroleum jelly on the places you want the paint to chip. Cover it, and when dry, wipe it with something that has Vaseline to expose what was underneath.
Step 5:
Wax/Sealant Process
So, to protect what you have achieved, you need to seal a layer on top of the painted surface. Chalk paint needs to be sealed with something like clear wax that gives it a soft, velvety feel. Wax it in thin layers with a brush or lint-free cloth and buff it to a smooth shine.
Apply dark wax lightly over clear wax to edges or cracks for an antique look. This provides a lustrous, weathered patina. Or you can opt for a matte sealant that can provide a long-lasting, no-fuss finish — perfect for busy areas.
Step 6:
Adding Final Touches
If you want to polish off your vintage makeover, finish off with elements including updated hardware or decorative stencilling. Replacing drawer pulls with brass or ceramic knobs can add character, but consider stencilling a design in front of the drawer or on top of a table to further the vintage aura.
How to make Vintage & Distressed look great
Play With Color:
Vintage makeovers often suit best with a light, faded colour such as ivory, faded-out sage green, faded duck egg blue, & faded-out dusty rose. The way to create a feeling of depth and interest is by layering layers of colours.
Therefore, Go Easy on the Distressing: Too much distressing will make things fall apart like a cookie, so keep in mind that less is more. Sand only where wear would naturally occur, and avoid deep sanding on large, flat surfaces.
Distress in a small area. If it is your first time, try it on an inconspicuous section or a small piece of wood before starting with the main body.
The advantages of giving a makeover to Vintage & Distressed Furniture
Green & Sustainable: Upcycling old furniture is a green option that can help decrease trash entering landfills by prolonging the life of the goods you own.
Economical:
Finding new furniture can be very expensive, so distressing furniture is a great free or inexpensive way to add stylish furniture to your home while taking inexpensive and second-hand products and levelling them into unique and valuable pieces.
Home Distressing:
Custom and Unique Every piece you modify is going to have a distinct personality and appeal, making it an original decoration to display in your house.
Enduring Quality:
Vintage is mostly a term that is banned in fashion, leading to the timeless beauty that distressed finishes provide homes in many decorative styles.
Conclusion:
Using vintage and distressed furniture but giving it a makeover is another great way to add some charm and personality to your home. Using the proper materials, techniques, and a bit of imagination, you can convert common furniture into one-of-a-kind classy items that have a story to tell. Techniques like sanding and dry brushing, wax finishes, and layered paints make it possible for you to produce items that appear to have travelled through generations over time.
Pull together your supplies and get crafting vintage and distressed makeovers. From an old dresser to a thrifted coffee table to a curbside find, you can revive furniture and create warmth and character in your home. So go ahead, see the beauty in the customer mistakes, and enjoy the creative process, because every piece you create is more than furniture; it’s a footprint of your locally branded style and creativity.
